Envelope Machine Cost and Payback: What Actually Drives the Price
October 27, 2026
Window Patching Machine Selection: 7 Details to Confirm
November 3, 2026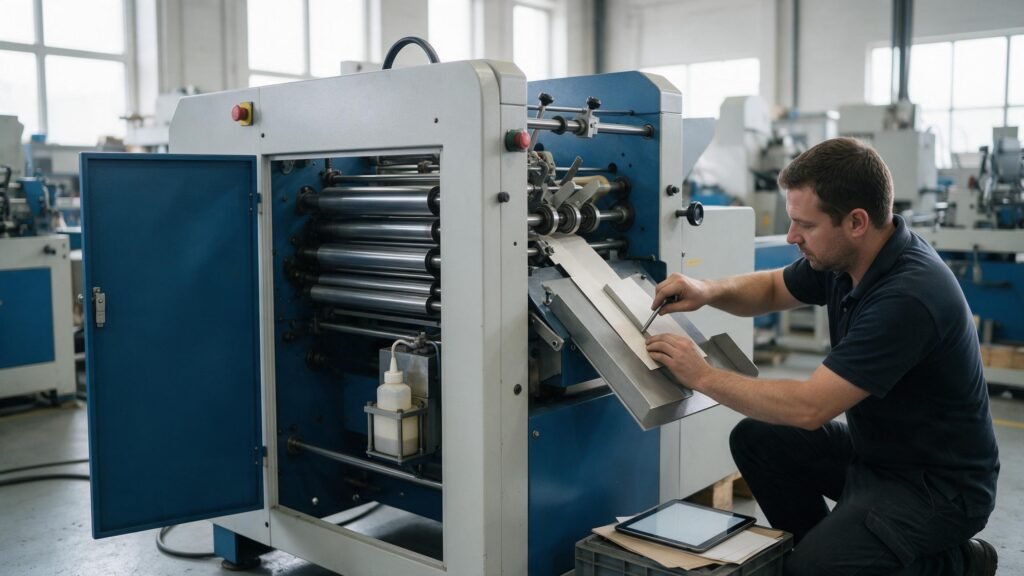
The short version
- Commissioning is about tuning the envelope making machine to the actual paper and envelope blank, not just installing it.
- Before the machine arrives, check the available floor area, ventilation, humidity, power route and safety conditions.
- Run and adjust the feeder and folds without glue first. Add cold glue only when the envelope size and folding are correct.
- Use a proper paper stack during feeder adjustment: do not let it drop below 50 sheets.
- Keep notes on the approved setup and operating precautions; do not rely on a fixed day-by-day timetable or an unverified production target.
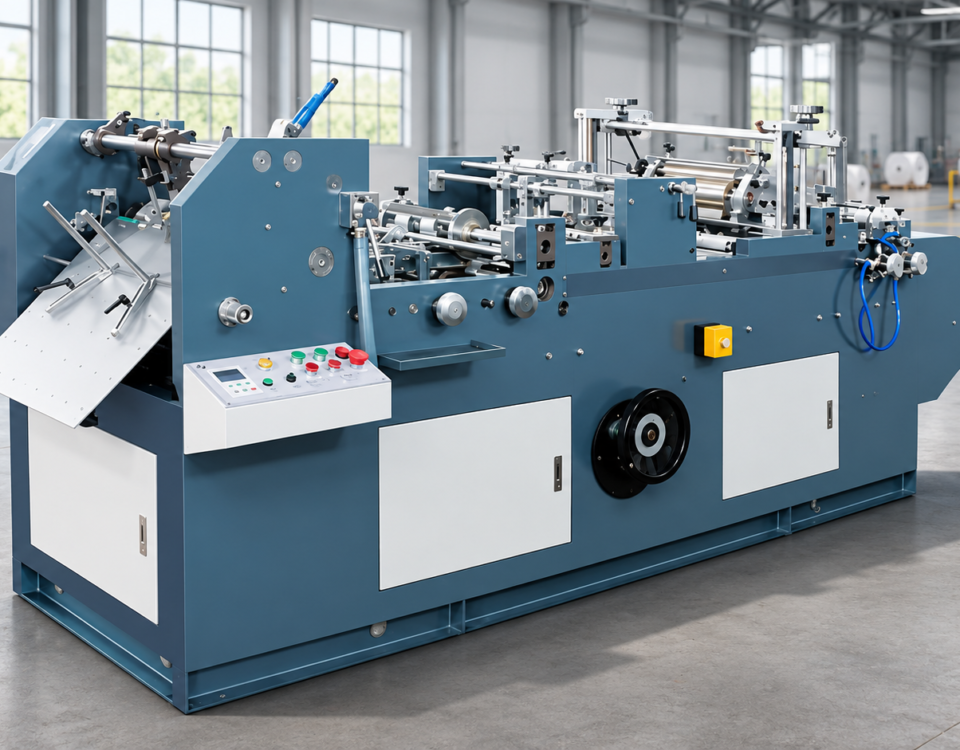
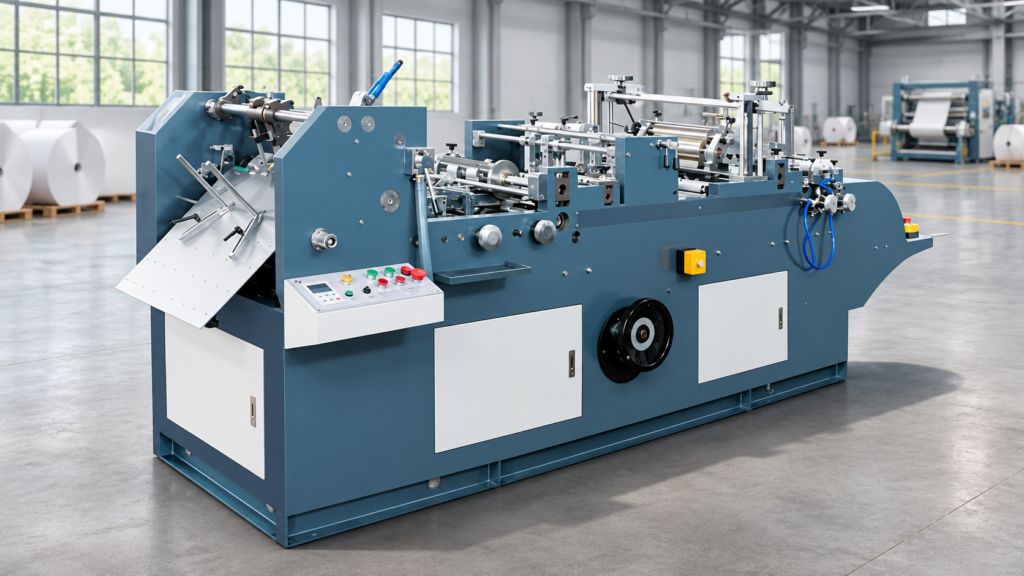
This guide covers practical commissioning checks for a HAOXING envelope making machine. The important work is adjusting the machine to the customer’s paper, blank and finished-envelope requirements. Controls and the order of adjustment vary by model, so use the manual and the supplied configuration as the final reference. The steps below are not a promise that a machine will reach a particular output on a particular day.
Step 1: check the installation area
Before delivery, confirm that the factory has enough space for the machine, material handling and safe operator access. Check the route into the workshop and the intended machine position. Review ventilation and humidity conditions so paper and adhesive are not exposed to an unsuitable environment. Identify the electrical cable route and any safety hazards around the machine before commissioning begins.
Match the site’s electrical supply to the requirements on the actual machine nameplate and in its documentation. Have qualified personnel complete and check the wiring and protective earth. Do not assume that another envelope-machine model has the same supply requirements.
Step 2: check power, air and safe start-up
After the electrical connections are checked, follow the model’s start-up sequence and confirm that the air pump is switched on. If the machine powers up but will not run, the air pump is one of the first items to check. Also check the machine’s normal safety and stop conditions according to its manual; do not bypass an interlock to make the machine run.
Before feeding paper, make sure the operating area is clear and the machine has been inspected by the person responsible for commissioning. Start at a controlled speed that allows the operator to observe feeding and folding.
Step 3: set the size, feed paper and test the folds without glue
For a standard envelope size within the supported range, adjust the machine directly; a mould change is not required for a normal size adjustment. Set the guides and folding positions for the actual flat blank, then make a dry run without applying glue. First confirm that the paper feeds singly, the finished dimensions are correct and the envelope folds as intended. This avoids wasting glue and reduces the risk of fouling the machine while the folding path is still being adjusted.
Do not test the feeder with an almost empty stack. Keep at least 50 sheets in the feeder during adjustment. If the machine does not feed or feeds two sheets together, check the suction-nozzle position and whether unused air holes outside the paper path are blocked. Recheck the paper stack before changing other settings.
If envelopes from the same batch fold incorrectly after a size change, focus on the fold setting rather than assuming that the paper dimensions have changed. In particular, readjust the folded-bottom position and test again with the same batch of blanks.
Step 4: add cold glue after the dry run is stable
HAOXING envelope making machines commonly use cold glue; do not add a heating step unless the supplied machine and adhesive instructions specifically require it. Apply glue only after the dry run produces correctly sized and folded envelopes. Introduce the adhesive in a controlled test, then inspect placement and the finished bond on sample envelopes.
Cold glue can dry or form a skin during a pause. When the machine is stopped, keep the exposed glue area moist as instructed for the supplied equipment; one practical method is to cover that area with a damp cloth. Keep the cloth away from electrical and moving parts, and remove it before restarting. At the end of the working day, clean the glue-contact parts according to the machine and adhesive instructions.
Step 5: inspect samples and record operating precautions
Check a short run of envelopes against the approved sample: finished size, single-sheet feeding, fold position, glue placement and closure. Make one adjustment at a time, then run the same paper again to confirm the effect. If a result changes, first check the settings and material actually used rather than assuming a general machine fault.
Keep concise operating notes for the accepted format: paper type and weight, finished dimensions, feeder and suction-nozzle positions, unused air-hole settings, folded-bottom adjustment, adhesive used and cleaning precautions. These notes help operators reproduce a successful setup. They are not a claim that every job will reach a fixed speed, waste percentage or changeover time.
Common troubleshooting
| What you see | What to check | Practical next step |
|---|---|---|
| Folds are wrong after a size adjustment | Folded-bottom position and the settings used for the same batch of blanks | Readjust the folded bottom, then dry-run the same blanks before adding glue. |
| No feed or double feeding | Paper stack, suction-nozzle position and air holes outside the paper path | Keep at least 50 sheets in the stack, adjust the suction nozzles and block unused air holes as required. |
| Cold glue dries during a pause | Exposed glue area and the cleaning procedure for the supplied adhesive | Stop the machine, protect the glue area with a damp cloth as instructed, remove it before restart and clean the glue system at the end of the day. |
| Machine does not run after wiring | Whether the air pump is on and whether normal start-up and safety conditions are satisfied | Check the air pump and follow the manual’s start-up checks; have a qualified technician inspect any electrical fault. |
FAQ and spare parts
Do I need to change a mould to adjust the envelope size?
No for a normal size change within the machine’s supported range. Adjust the relevant positions on the machine, then confirm the result with a dry run. Ask HAOXING about special formats outside the supplied configuration.
Why will the machine not run after the electrical connections are made?
First check whether the air pump has been switched on. Then follow the supplied model’s start-up and safety checks. Electrical troubleshooting should be handled by qualified personnel.
Which spare parts should be kept on hand?
See the HAOXING illustrated spare-parts reference (PDF). It shows nine numbered items with photos and these listed quantities: item 1 – 2 pcs; 2 – 4 pcs; 3 – 1 set; 4 – 4 pcs; 5 – 4 sets; 6 – 1 set; 7 – 1 set; 8 – 1 roll; and 9 – 1 set.
The PDF does not name the individual parts or state which machine model it covers. Treat it as a visual reference, not a universal kit or a confirmed order list. Before ordering, give HAOXING your exact machine model and configuration so the team can confirm the correct parts and quantities. For current contact information, use the Contact page rather than the address printed in the PDF.
Before handing the machine over
Keep an approved envelope sample and the operating notes beside the machine. Make sure the operator knows the safe start-up sequence, the feeder and folded-bottom adjustments, when to introduce cold glue, what to check if feeding fails, and how to clean the glue system after the shift. This handover is more useful than a day-by-day timetable that may not match the actual paper and format.
For a commissioning review, send HAOXING the finished envelope size, flat blank, paper specification, adhesive requirements and a photo or short video of the issue. You can also contact the team with the exact machine model and configuration so the advice matches the equipment on site.